Hey Everyone in ScrappyLand....Robbi here with a ....
little bit of fun for this blog post
For those of you that know me well you know I'm kinda OTT when I decide to do some things and for those of you that don't know me well.....Well I'm Robbi and I'm over the top!
"What the heck are you talking about" I hear a lot of you asking....well welcome to my little world of mini album creating....I cant just make a nice simple little book it has to be OTT.
So grab a coffee (or Lady Grey tea.... if you must) put your feet up and check out the next million photos (not really just 8 or so...lol)
Liz sent me the awesome Tea Break collection from Kaisercraft and I got so into creating with it I had a wee book made in no time...then it was the embellishing....well that also went smoothly as the embellishments Liz sent me were amazing. I love the Collections packs that are produced for each collection, and these are certainly up there amongst my top faves.
So here goes and please lets know what you think....tell me ...do I have a problem
This photo shows the cover of the book. The ribbon gets tied round the book and ties at the side.
This photos shows the style of the book, I'm guessing it would be a half star book. very easy to achieve especially with leftover pieces of paper or being able to create one with a solid collection would be a fantastic Christmas Gift.
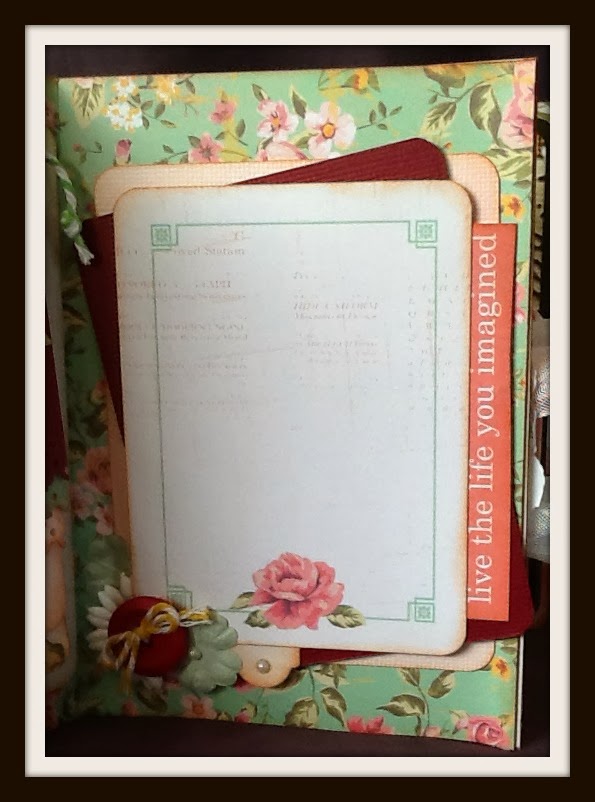
This photo shows the 1st page. I have created 3 strips of paper, corner rounded the bottom flaps, and punched the top ones. I have adhered them at different lengths and then stapled across the top (I threaded some twine across the fold before stapling) adhered the base layer to the page and then added a coloured strip across the top to hide the staples. I embellished as shown on the top flap.
This photo shows the base layer of the folder above. I used the Tim Holtz Mini Heart die and Distressed Banner Strip die to create this embellie.
This little folder creation allows you to add at least 9 photos
This photo shows the 2nd page. I have just cut 2 pieces of cardstock, corner rounded the edges, inked and added at off centred angles. I lifted between the 2 base layers and added a saying strip. I then used one of the Tea Break Collection - Yo-Yo tags and added in the same manner. I added a few extra embellies and the page was just waiting for photos.
This photos shows page 3.For this page I created an envelope, used the Yo-Yo paper tag again and one of the banner strips in the collection pack. I created 2 little tags for the envelope but you could just use photos if you would like, or more tags there really is plenty of room.
In this photo for page 4, I have created a lot of little squares for smaller photos to go on. Note the 2 little flag ends poking out, they are for dates or names. and again I used some goodies from the collection pack
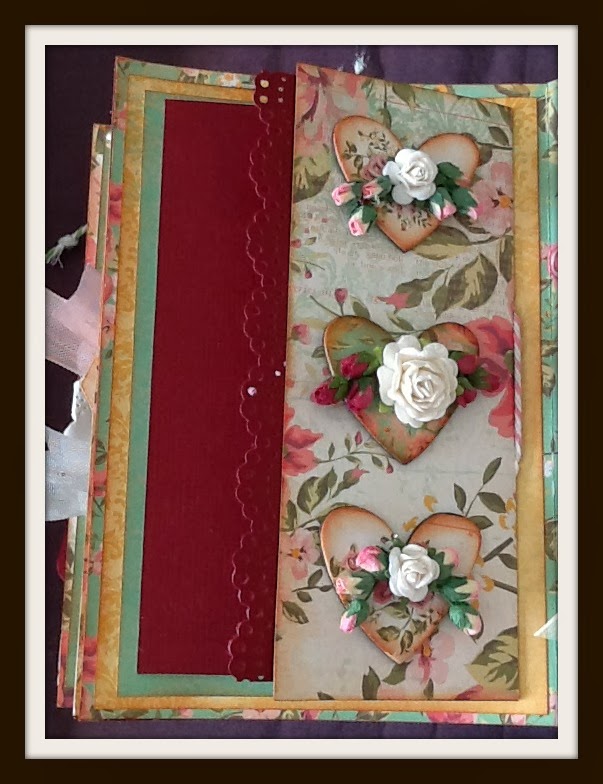
In this photo for page 5 I have created a 2 layer flap. I used a larger piece of patterned paper and then some cardstock for this page. The green base layer is adhered n place after it and the cardstock had both been scored at about 3/4 along the paper, pierce 2 holes and thread some twine twice through them tie off at the inside middle and this will hole the top layer in place. Add some hearts or butterflies to the very top flap and flowers or more layered butterflies.
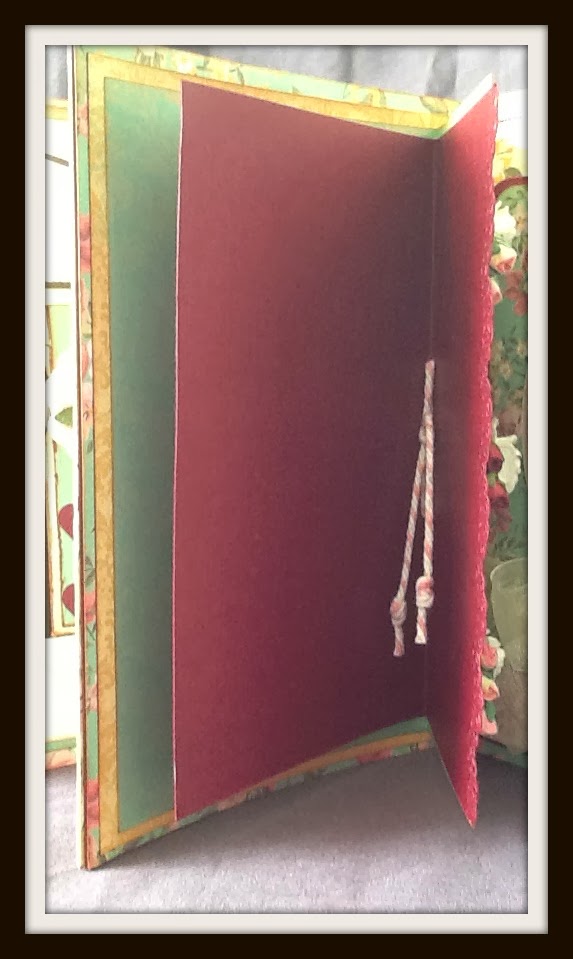
This photos gives you an idea of the inside layering of the little folder with the twine tied
This photo is of page 6 and for this I cut strips of different leftover papers and layered them after corner rounding and inking the edges. I have also put some chipboard between all the layers
(Come on you know I lift everything!)
I also used another tag from the Yo-Yo paper and created a photo frame with it. I used a saying but you can use a photo. I then tied some ribbon into a bow and added the little heart and key along with the coloured pearl brad.
Ok....so how did I go. Not a bad prezzie for Christmas aye? You could make lots of little pockets and add some vouchers or gift certificates as a wonderful present or just a lovely reminder of a special occasion.
I will be sending this to the shop in the next week for anyone to have a proper look at, and please by all means copy it, have a go.
I have missed my scrapping goodies over the last week as have been in Christchurch for cup week so it was a sad week for me being away from my desk and all my pretty paper, glue, scissors, ruler ...oh yes I do have a problem... But while I was away I did run into some lovely people and I heard some wonderful stories about Beverley Giles who came to my classes at SENZ earlier this year with her Daughter and Granddaughter (they helped her finished the projects but everyone at Women's Institute heard she made them herself...Good on you Bev!) it was a pleasure to have you all in my classes and I look forward to running into you again in the future
Ok best be off now and get some more creating finished for my next blog post in late November, Be sure to watch out for all the exciting goodies the DT are working on.....I've heard they are quite something!


Your mini album is beautiful and would be the perfect Christmas gift!
ReplyDeleteYes it's beautiful! Awesome post!
ReplyDelete